KITS PRICE LIST
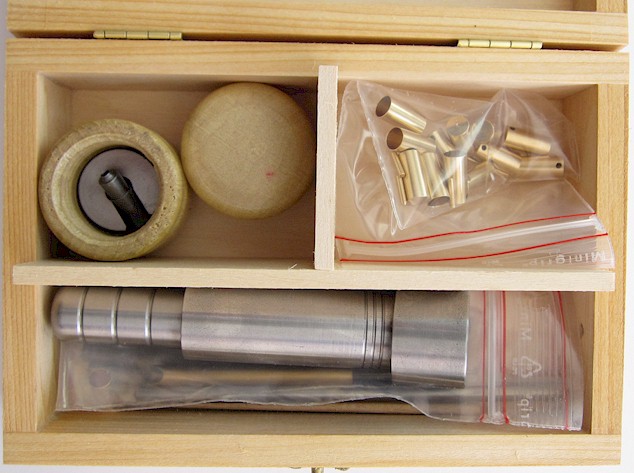
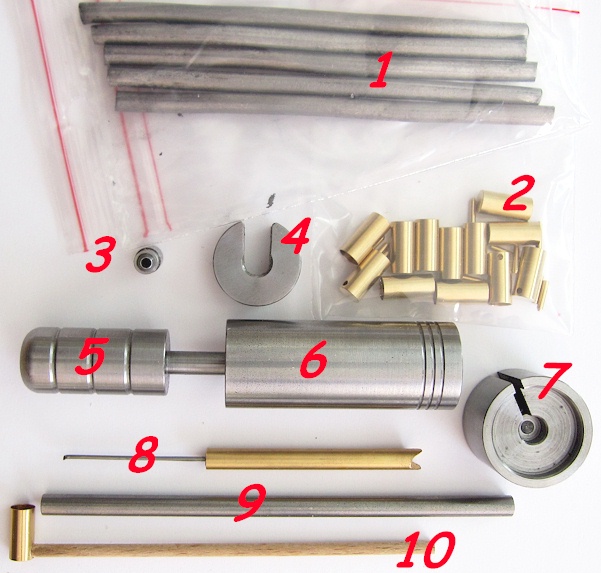
5mm pinfire basic kit Content (packed in wood box) : 5mm reloading tools + 5mm bullet building tools, 12 reloadable cases + 1 powder measuring cup + 1 cap seating tool/extractor, 12 firing pins + 5 lead rods of 100mm
DETAIL OF THE CONTENT
First of, in this kit the bullets for have to be made by the user himself, from a short section of a lead rod, whose diameter is about 4,7mm. Five such rods of 100mm are provided with the kit. Supplemental rods can be purchased (by ten). See the list price.
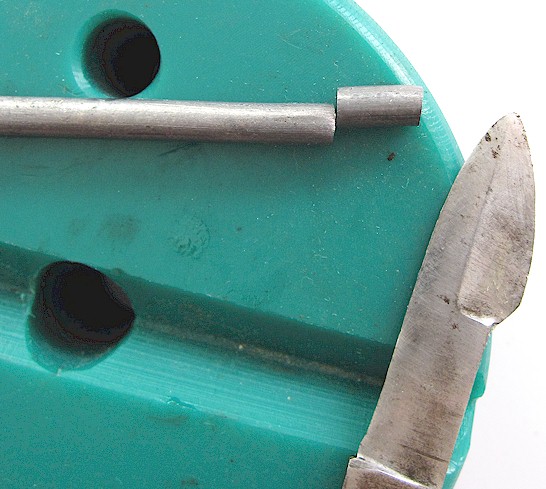
From one of the lead rods a short section of about 10mm must be cut off. This can be made with the thin blade of a well sharpened knife.
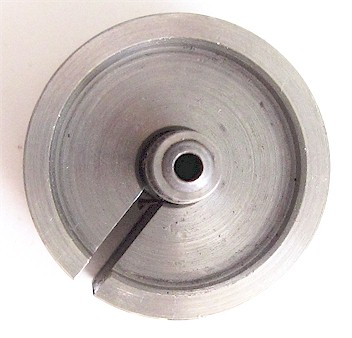
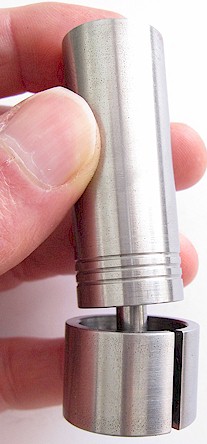
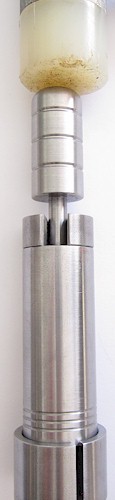
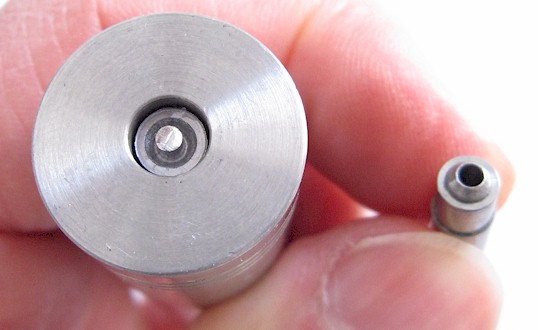
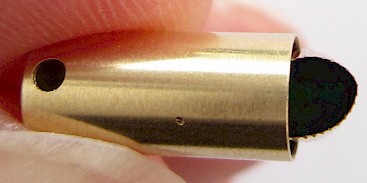
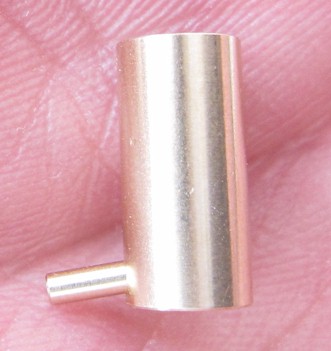
The forming die of the bullet base must now be positioned on the tool base as depicted here above.
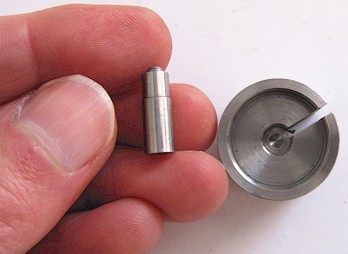
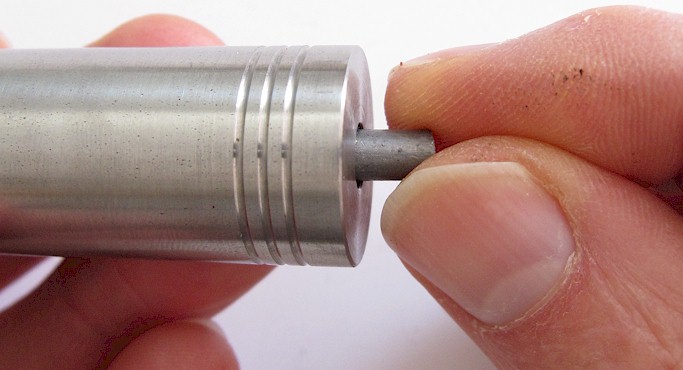
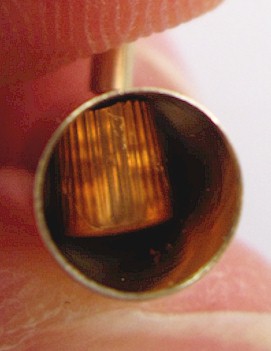
The short section of lead rod (about 10mm length) is introduced inside the cylinder by the aperture marked with three groves.
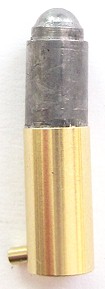
At this stage, the cylinder (with the bit of lead inside) is positioned on the bullet forming die, as shown in the first picture above. The cylinder is pushed until being stopped by the tool base, and the thickness washer is positioned on the upper end of the cylinder. The pushing rod is then introduced into the cylinder until being in abutment against the top extremity of the bit of lead inside.
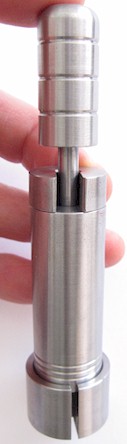
Now it is time to strike the upper end of the pushing rod with a mallet, until the rod flange is against the upper face of the thickness washer. Note, though, that if the bit of lead was cut a little bit too long, the upper face of the thickness washer will be never reached. Useless to strike and strike again.
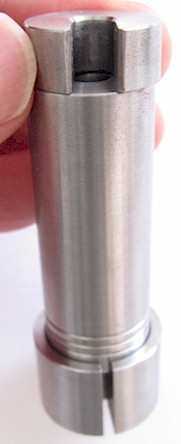
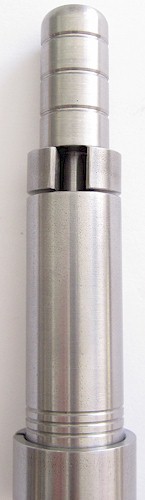
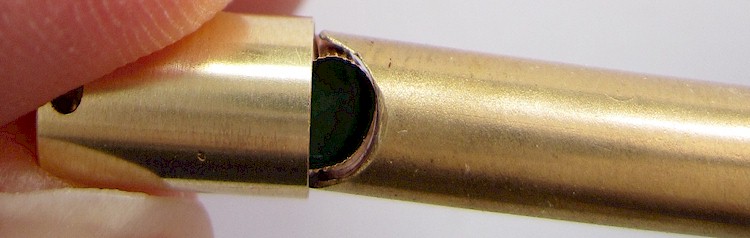
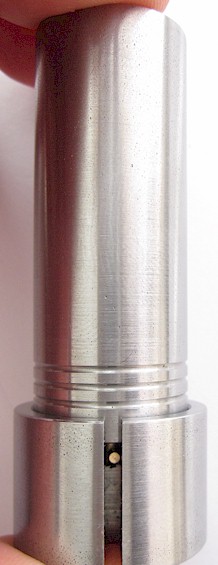
When the
cylinder is removed from the tool base When the rod is pushed to partially eject the bullet die
When the cylinder will be removed from the tool base, most probably the forming die will remain stuck against the base of the bullet. After it has been pushed by the rod, just grip the forming die, and pull it out of the cylinder. The bullet has now to be pushed out of the cylinder. This can generally be easy done by using the pushing rod like a pump. Get the rod partially out of the cylinder, and push it violently by hand. The air trapped between the head of the rod and the bullet will become compressed, and the bullet will be ejected out of the cylinder.
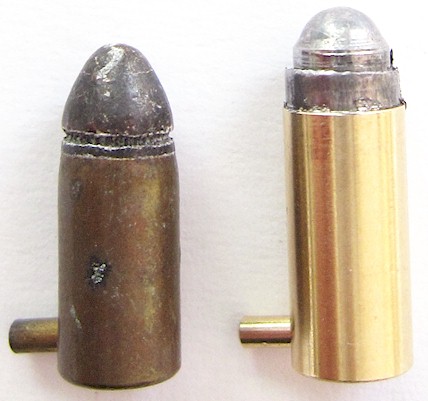
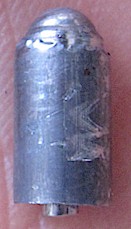
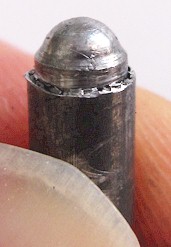
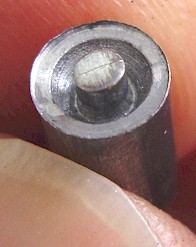
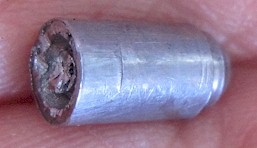
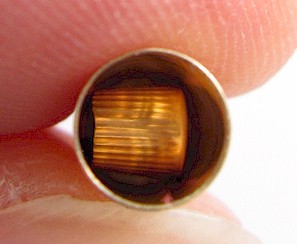
The bullet is now formed. But you will see that there is a small stud inside its hollowed base. This stud was created through the pushing of the bit of lead against the head of the forming die, whose head has a hole, drilled vertically throughout the body of the die.
This stud can be left or it can be removed. Its removal will allow a little bit more black powder to be stored inside the shell. The removal of this stud can be made by using the copper head of the cap seating tool. This head has two sharp jaws that can be used to cut the bullet stud.
It is time now to prepare the shell for reloading. In this tiny caliber, there is no separate cap holder to be installed in the bottom of the shell. Actually, the shell has just the necessary internal size to accommodate a primer cap. The latter must be a seized between two fingers, and squeezed, until its body is slightly flattened.
Inserting the primer cap inside the shell
Shell primed ready for installation of the pin When the primer cap has been flattened, it is partially introduced inside the shell. Note, that the primer's aperture must be aligned with the pin hole at the base of the shell. Using the cap seating tool, as shown above, push the primer cap down until reaching the bottom of the shell.
When the primer is properly installed in the bottom of the shell, the firing pin must be pushed inside the shell through the dedicated hole. Verify that the pin is entering inside the primer cap, and push it until being stopped against the bottom of the cap. The next steps, which are relating to the black powder loading, are by and large similar to the other pinfire calibers. Details can be found at that page : http://hlebooks.com/pinfire/pin01.htm. To summarize, a quantity of black powder must be poured inside the shell until reaching a level corresponding to the base of the bullet when the latter is seated in the shell. The black powder should not be (too) compressed by the bullet, but also no empty space should remain between the powder and the bullet. Nothing can be told about a precise quantity of powder because the bullet parameters, and the type of powder (fine, super fine, coarse), can vary. Just stick to the rule mentioned above.
Once the powder is inside the shell, place the bullet as shown above. You can make a slight bevel at the base of the bullet to help have a better (vertical) positioning of the bullet.
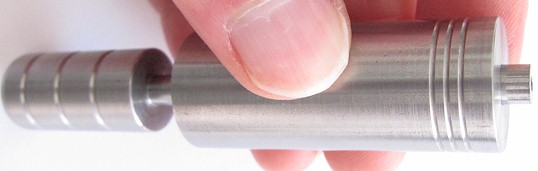
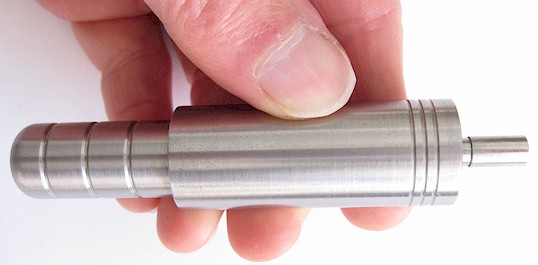
Put the cartridge on the tool base as depicted above, and cover the bullet with the cylinder. Do not forget that the cylinder must have its three external grooves positioned below.
Insert the pushing rod inside the cylinder, and strike it with a mallet, until the rod shoulder comes in abutment against the upper face of the cylinder (red arrow). Then remove the cylinder and push the bullet out using the ejector rod.
When the cartridge has been fired, the exploded cap can be extracted from the bottom of the shell using the hook shaped extremity of the cap seating tool.
 ITEM #B5 : 12 X 5mm Pinfire reloadable cartridge cases 12 reloadable brass cases + 12 firing pins Approx weight 7g - Price US$ 40.00 + Shipping 
H&L
Home Page
|
Pinfire kits Prices 12/16 gauge pinfire shotgun user manual
Reloading pinfire cartridges Reloading Rimfire Reloading
Reloading .32 .38 .41 rimfire
cartridges
|