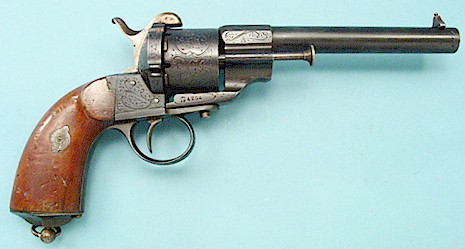
7mm Belgian made pinfire revolver
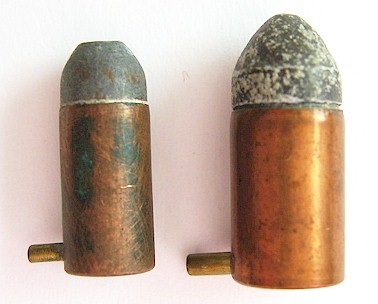
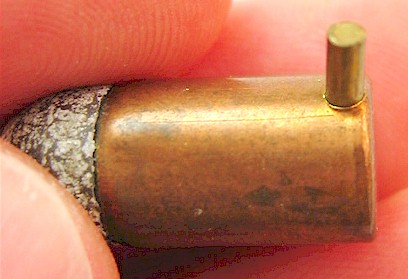
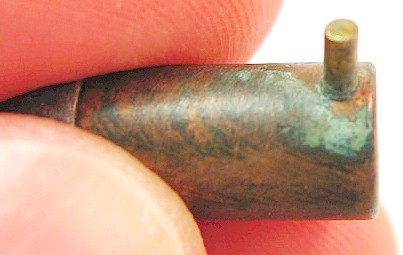
Vintage pinfire cartridges
9mm pinfire
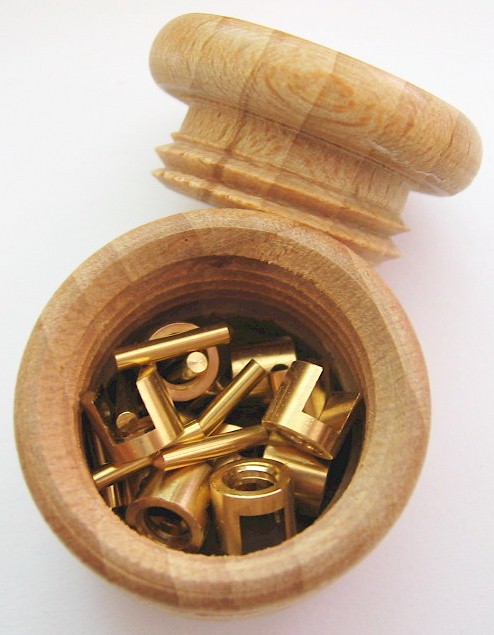
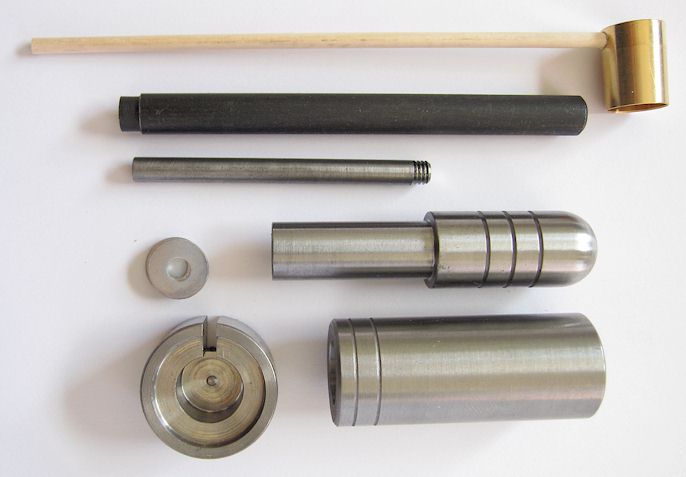
starter kit
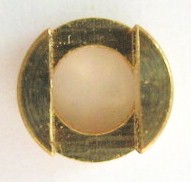
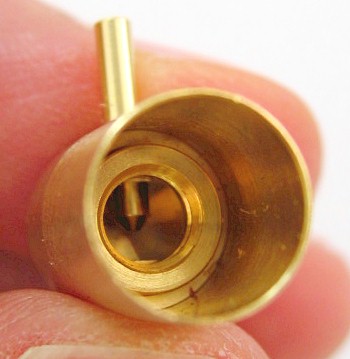
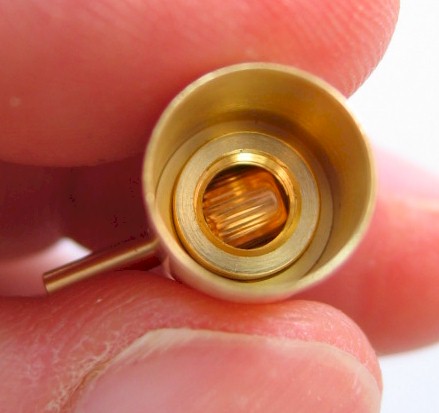
One quite innovative element of this kit is the threaded percussion cap holder. It is a massive piece of brass which no doubt can be used several times before being worn out.
Being threaded at its base, the holder can accommodate a rod that will help greatly to position the holder inside the cartridge case. Note, that each kit (7mm or 9mm) has its own specific cap holder with different technical characteristics (the hole section). The firing pins of both kits being of different size and thickness.
The inside bottom of the 9mm case is thicker - with a shoulder - to adapt the cap holder, while the 7mm case is straight with the cap holder sliding in it with a little play.
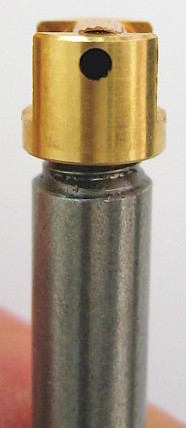
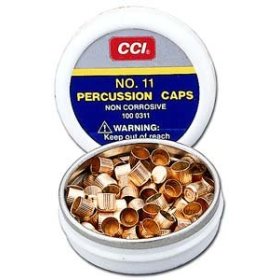
Note that the percussion cap MUST be flush with the holder. If it remains beyond the holder's edge, as shown above, the holder pin hole, and the case pin hole, will not aligne perfectly and you will have difficulties to enter the firing pin.
Percussion cap not installed
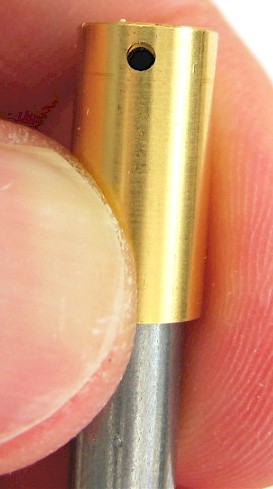
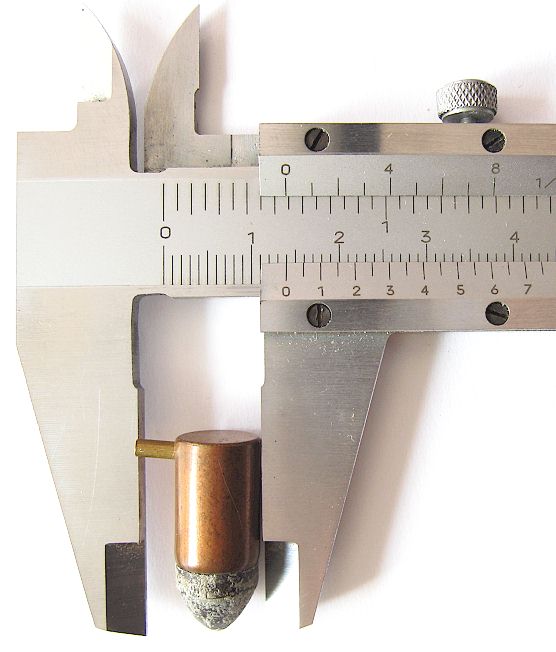
Percussion cap installed The cap holder is now retained in the bottom of the case by the firing pin. Note that when sticking the pin into the case, you can add before a drop of glue on the pin. WARNING ! Before adding the bullet it is HIGHLY recommended to test one blank cartridge in the gun you intend to use. Especially if it is a revolver. You must be certain that the pin is - or can be - sufficiently pushed inside the case to allow a free rotation of the cylinder. It may be necessary in some cases to grind down the firing pin. As to the external usual dimensions, pin included, you should near the figures shown below :
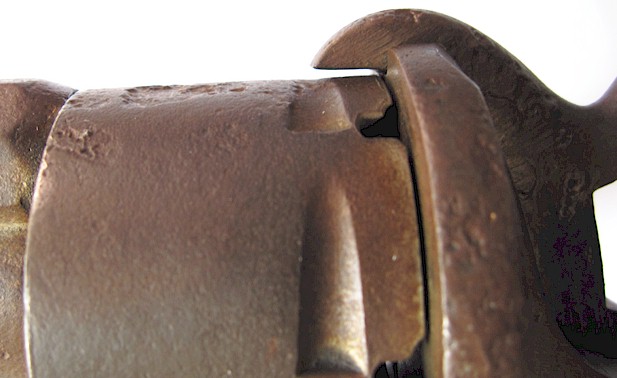
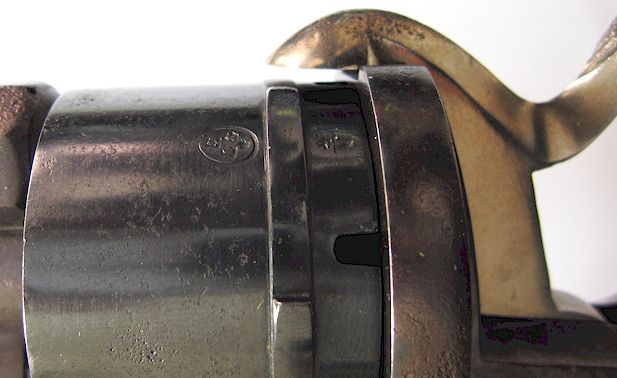
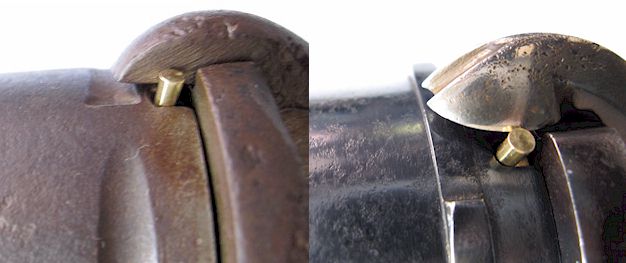
Note that the pinfire revolver production was all but homogeneous as to the way the hammer is crushing the cartridge pin. The gap between the cylinder and the hammer at rest can vary greatly from one gun to the other as shown above.
This, consequently, has an effect on the strength that the pin is pushed against the primer through the hammer blow. Should the gap be too larger, and the pin may not hit the primer cap sufficiently to explode it. The strength of the hammer spring has also something to do with the reliability of the firing.
Note that : - for the 7mm caliber any black powder should work (coarse to fine granulation - Fg to FFFg). But if your gun is in very good shape, you can chose a fast burning powder with a finer granulation (FFFg). - for the 9mm caliber, you should use a fast (fine granulation) powder (FFFg or FFFFg) because of the bullet important dragging inside the barrel, and the rather short case capacity. The good choice will eventually be the result of experimenting different loads with your own gun. You should not leave any gap of air between the powder and the bullet. Of course when filling the case you must leave enough space above the powder to allow the seating of the bullet into the case. Black Powder comes in four granulations. Fg being the coarsest (slowest to burn), and FFFFg being the finest (fastest to burn). You will find the same grades under the following labels : 1Fg to 4fg or even 1F to 4F Warning ! From now on, a sufficient blow onto the pin can ignite the primer and the powder.
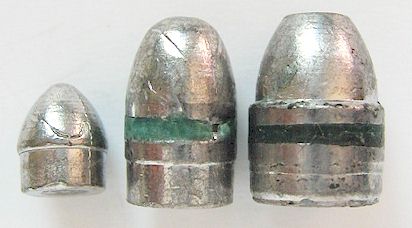
Left : 7mm (about 4 grams) - Mid : 9mm (about 9 grams) - Right : 12mm (about 10,80 grams)
You will note that the bullet is shaped with a shoulder. This will help you to know how deep the bullet must be pushed inside the case. All the bullet body under the shoulder must be inside the case.
Note that the former adjustable pushing rod (left) has been replaced by a new non adjustable one (right) 5) Inserting the bullet into the case with the required deepness, is precisely done thanks to a pushing tool. This tool is a cylindrical casing into which is screwed a large rod with a concave under face to mate the bullet head profile, and a nut on its upper portion to set the right deepness of the rod that slides into the crimper block channel. To determine the exact deepness you will install the first bullet by pushing it through the pushing tool (using a light non marring hammer) until you feel - or better you see - that the bullet shoulder is at the cartridge case upper edge level. Then, while maintaining the pushing rod in contact with the bullet's head, turn the pushing tool casing down until it is against the crimper block. When it is done, screw firmly the nut against the casing. Note that the former adjustable pushing rod has been replaced by a new non adjustable one (shown above). The pushing rod is set now at the right deepness for the cartridges to come. For the next cartridges, just install the bullet on the case, put the pushing tool on the crimper block, and use a mallet to drive the bullet inside the case through the pushing tool rod (which is now firmly locked at the right height to the pushing body by the nut).
CRIMPING
PUNCHES NO LONGER PROVIDED 6) If for any reason you want the bullet to be more crimped by the case, you can use the two small punches furnished to this effect. The two punches must be inserted in the lateral holes of the crimper block as shown above. The space between the punches and the crimper block surface indicates the deepness of the penetration into the cartridge case when the blow will occur. Take care to not puncture the cartridge case when performing this additionnal crimping. To prevent a possible perforation of the cartridge case you can :
- Adjust
the punches length by filing them down.
AFTER FIRING :
1) De-caping Remove the firing pin. Screw the threaded rod into the percussion cap holder, and pull it out of the cartridge case. If you want to re-use the case and the cap holder, do not forget to clean them. You can use hot water with some sort of current ammoniacal detergent.
If used in rather well calibrated guns with clean smooth chambers such cases should be reloaded five or six times before being discarded as a safety measure. But ALWAYS check attentively the case before any re-use. And specialy in the weaker area of the firing pin hole. H&L
Home Page
|
Pinfire kits Prices 12/16 gauge pinfire shotgun user manual Reloading pinfire cartridges Reloading Rimfire reloading Reloading .32 .38 .41 rimfire
cartridges 11mm French revolver reloading
kit
|
||||||||||||||||


